Curious what instruments doctors use for IUD insertion and removal? Understanding IUD tools can ease anxiety and help you feel confident before your appointment. This guide explains common IUD instruments, how they work, and what to expect during placement and removal from the perspective of a licensed nurse practitioner.
Introduction
Intrauterine devices (IUDs) are one of the most effective forms of long-acting reversible contraception. While many people are familiar with how IUDs function, fewer understand the actual instruments used during insertion and removal. Knowing what to expect helps reduce worry and empowers you to make informed decisions about your reproductive health.
As a family nurse practitioner, my goal is to explain IUD insertion tools, removal instruments, and safety steps in a clear and supportive way.
What Are IUD Insertion Tools?
IUD insertion tools are sterile medical devices used by healthcare providers to safely place the IUD inside the uterus. They help measure, guide, and position the device with precision.
IUD insertion tools typically include:
Speculum
Purpose: Gently opens the vaginal walls so the cervix is visible.
Experience: You may feel pressure, similar to a Pap smear.
Tenaculum
Purpose: A small instrument that lightly holds the cervix steady during placement.
Experience: Can cause brief cramping—this is normal and typically lasts seconds.
Uterine Sound
Purpose: A thin measuring tool used to check the depth and shape of the uterus before IUD placement.
Experience: May trigger a quick cramp as it briefly enters the uterus.
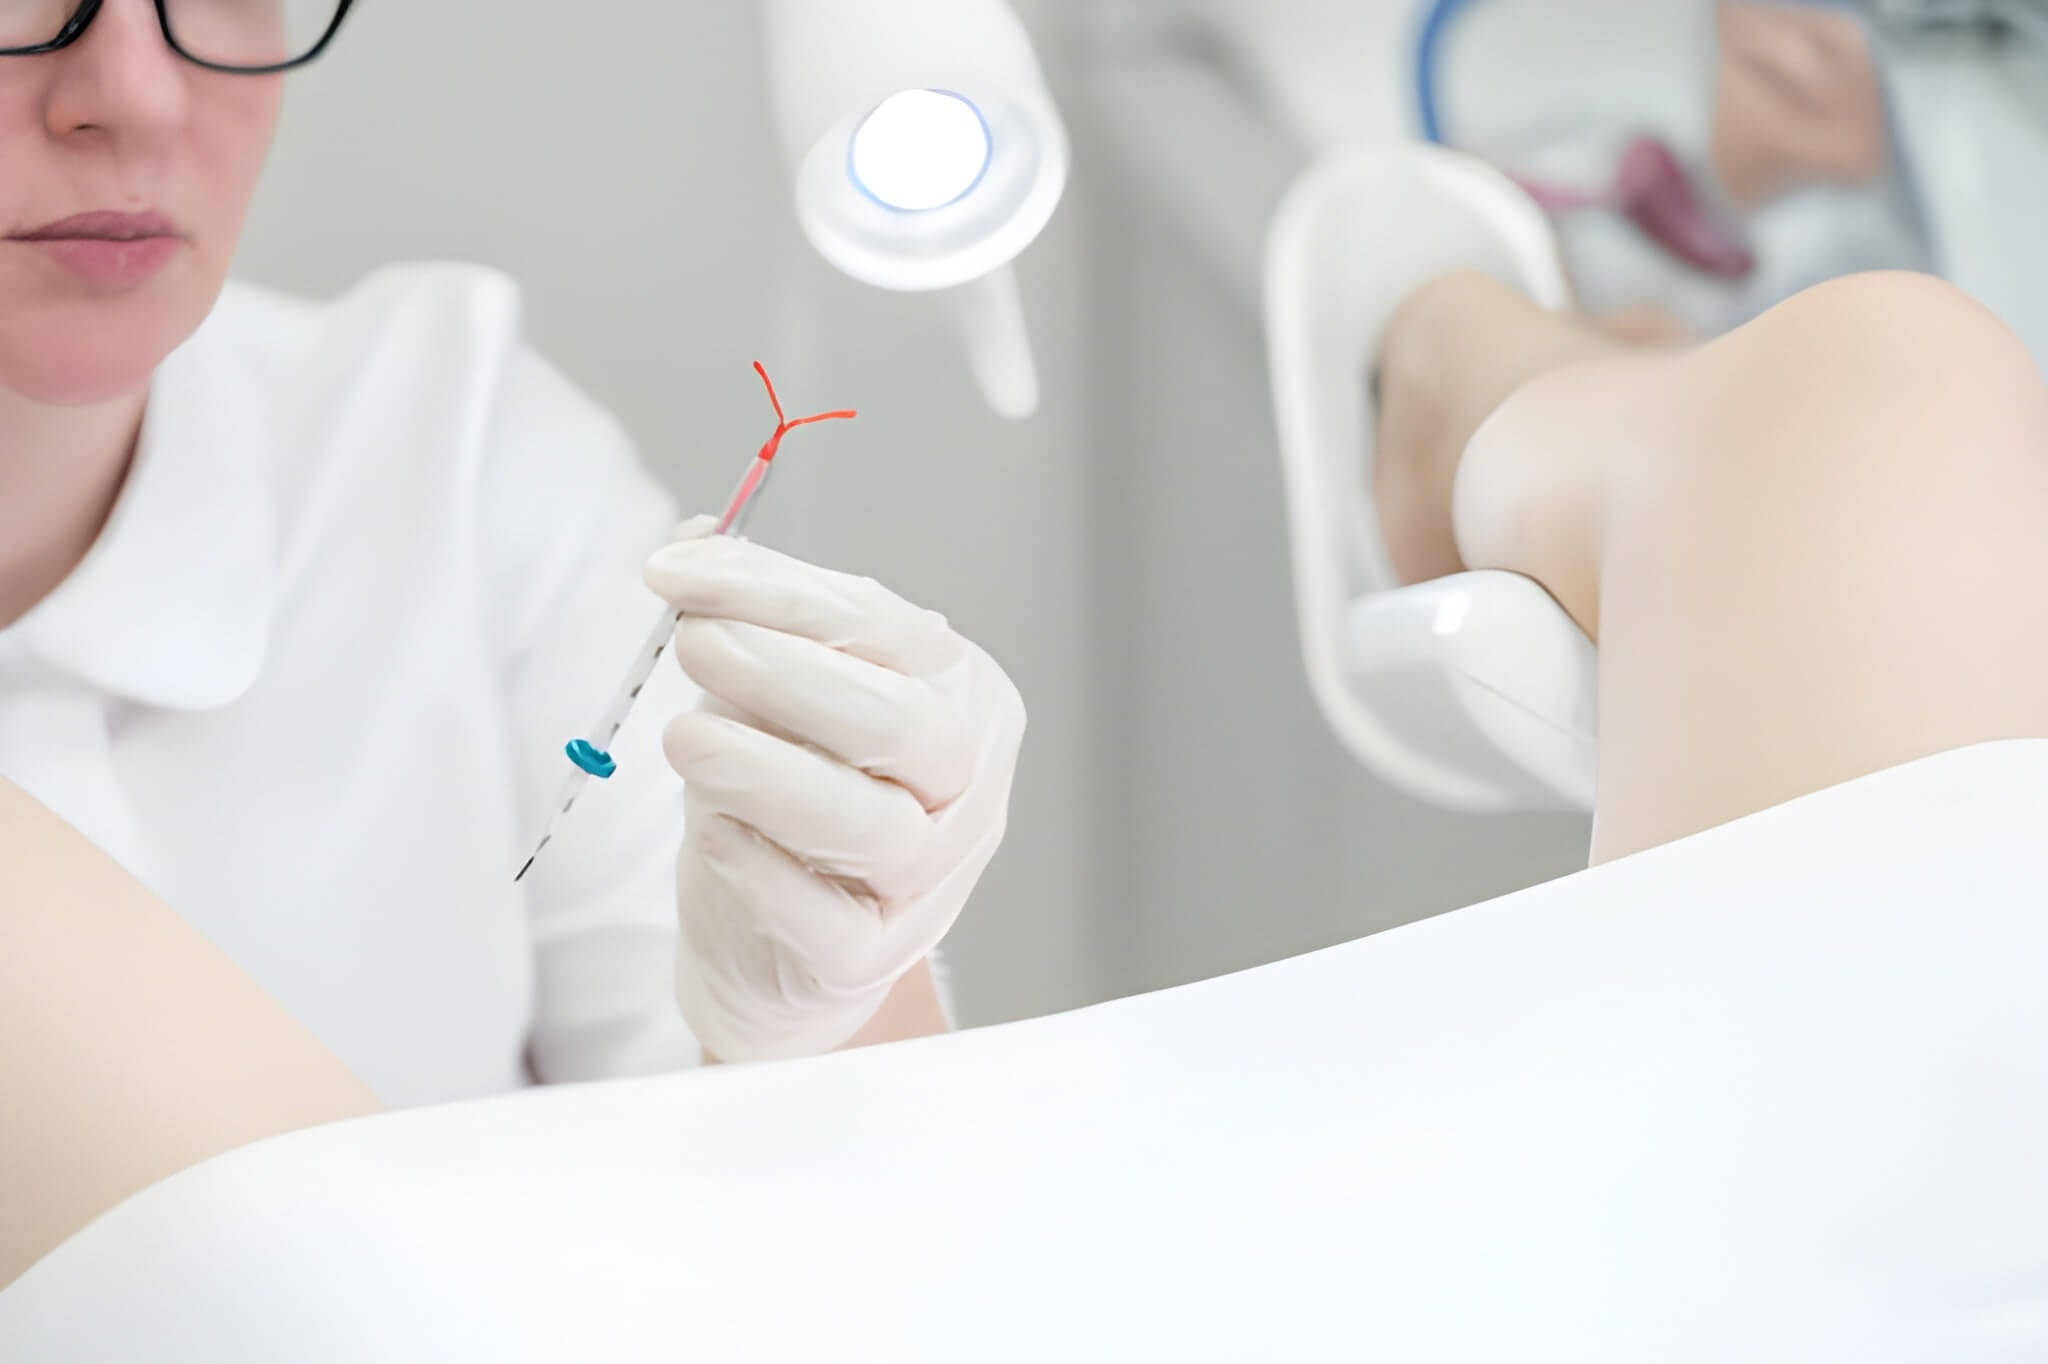
IUD Inserter
Purpose: A sterile, pre-loaded applicator that delivers the IUD into the uterine cavity.
Experience: Pressure and mild to moderate cramping for a few seconds.
Scissors
Purpose: Trim the IUD strings to an appropriate length so they sit comfortably in the vagina.
What Are IUD Removal Instruments?
IUD removal instruments are designed to gently grasp the IUD strings and remove the device safely.
The most common IUD removal tools include:
Ring forceps or Kelly forceps
Purpose: Grip the IUD strings and remove the device in one smooth motion.
Experience: Light tugging feeling and short-term cramping.
Speculum
Used during removal as well to visualize the cervix, just like during insertion.
Cytobrush or fine instruments (rare use)
Purpose: In cases where strings are not visible, a tiny brush or special tool can help locate them.
Note: If strings are missing or the IUD is embedded, an ultrasound and a gynecologic specialist may be involved.
Are IUD Tools Painful?
Most people experience:
- Mild to moderate cramping during insertion
- Brief pressure from the speculum
- A quick cramp with uterine sounding
- Light cramping with removal
Pain varies depending on:
- Individual pain tolerance
- Anxiety levels
- Whether you’ve given birth
- The type of IUD
Tip: Deep breathing, warm compresses, and taking ibuprofen beforehand (if recommended by your provider) can make the process more comfortable.
Why IUD Tools Matter for Safety
These instruments allow providers to:
- Ensure the IUD is placed in the correct location
- Avoid infection with sterile technique
- Measure the uterus accurately
- Remove IUDs smoothly and safely
Sterility, proper training, and technique significantly reduce risk. Never attempt to insert or remove an IUD yourself.
What to Expect During IUD Insertion
Typical steps include:
-
Pelvic exam and speculum placement
-
Cleaning the cervix with antiseptic
-
Tenaculum applied to steady cervix
-
Uterine measurement with sound
-
Strings trimmed
Most appointments take 10–15 minutes.
What to Expect During IUD Removal
Steps typically include:
-
Speculum placement
-
Strings located
-
Light traction on strings
-
IUD removed in seconds
Most removals take less than 2 minutes.
Aftercare Tips
- Expect mild cramps for a few hours
- Light spotting is normal
- Heating pads help
- Use pads, not tampons, for first 24 hours if spotting
Call your provider if you experience:
- Severe pain
- Heavy bleeding
- Fever or chills
- Foul discharge
My Clinical Perspective
Many patients worry more about the tools than the actual procedure. Using modern IUD instruments and gentle technique, insertion and removal are typically quick and well-tolerated.
In my practice, I take time to explain each step, encourage relaxation breathing, and answer questions. Empowering patients through knowledge often makes the visit smoother and less stressful.
Do You Need to See a Specialist in Hartford?
People in Hartford and surrounding communities can access safe IUD services through OB-GYN offices, primary care clinics, and women’s health centers. For complex removals, gynecology specialists and ultrasound support are available locally.
Key Takeaways
IUD insertion tools help:
- Measure the uterus
- Guide placement
- Secure the IUD correctly
IUD removal instruments help:
- Locate strings
- Remove the IUD safely
Both procedures are fast, sterile, and safe when done by a trained provider. Understanding the tools can ease anxiety and help you feel prepared.
Final Thoughts
IUDs are an excellent birth control choice for many individuals due to their effectiveness, convenience, and long lifespan. If you’re considering an IUD or preparing for a removal, knowing about the instruments and process can help you feel calm and confident.
Always choose a qualified healthcare professional for IUD services. Your provider will support you, answer your questions, and ensure a safe experience.
Disclaimer: This is informational content, not a substitute for professional medical advice.
About the Author
Meghan Killilea Galli, APRN, FNP-BC
Family Nurse Practitioner
Women’s & Reproductive Health Specialist

Meghan Killilea Galli, APRN, FNP-BC, is a Connecticut-based board-certified Family Nurse Practitioner with over 5 years of experience in urology, women’s pelvic health, and primary care. She practices with Hartford HealthCare and Griffin Faculty Practice Plan and founded Health Gardeners to share reliable, evidence-based health information.
Read More